

Santa Hat (F2)

This super easy Santa hat pattern is actually a set of instructions that work for any size hat on any size needles with any size wool. If you use chunky yarn and big needles you can be done surprisingly quickly.
A printable version of this pattern is available.
You will need:
- matching red and white yarn (e.g. both cable weight)
- card (or pompom maker)
- knitting needles (of a suitable size for the yarn)
- tapestry needle
- scissors
Instructions:
(A list of abbreviations is available.)
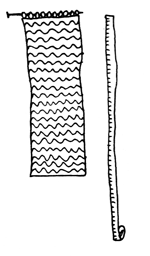
Trim
Measure the circumference of the thing you want the hat to fit. This might be your head, a friends head, a cuddly toy, a shampoo bottle... I don't know your life. Write down the circumference for later.

Cast on stitches in white until they measure about one sixth of the circumference when stretched out along the needle. It is not at all necessary to be accurate here. When you fold over the trim of the hat you'll be able to control how much of the white knitting you see. Just guess how many stitches you'll need. Stretch them out and measure. Drop a couple/ knit a few more if you like. Done.

Knit every row until the fabric is the same length as the circumference you wrote down. If in doubt wrap your knitting around the thing to check it fits. When it does, cast off.
Hat
Garter stitch (aka knit-every-row stitch) is made up of ridges that look like this...
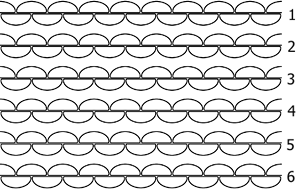
What we're aiming for in this step is to get as many red stitches on the needles as there are ridges on a single side of the white trim. You can either count the ridges and cast on that number in red, or, if you're like me and HATE SEWING UP, you can slip one loop from the end of each ridge onto a needle and knit it in red.
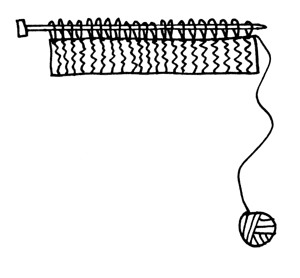
The hat pattern is formed of four rows.
- Row 1: k –
- Row 2: k –
- Row 3: k2tog, k –
- Row 4: k2tog, k –
Repeat these rows until there are only five or six stitches remaining on the needles. Cast off.
Making Up:

- If you didn't pick up stitches at the start of the hat section you need to sew the bottom of the hat to the edge of the trim. If you did pick up stitches move straight to next step.
- Fold the hat in half along it's length. Sew the red edges together with red and sew the white edges together with white.
- Fold the edge of the trim up and over to cover the horizontal join.
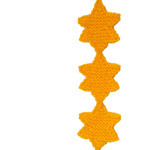
- Make a white pom pom and attach it to the tip of the hat.
- Sew in any remaining loose ends.
- Congratulations, the hat is ready to wear. Make sure the seam is at the back where it will be well hidden by the folds of the hat.
Notes:
This pattern is really easily adaptable. So far I've made Santa hats for me...

...my monkey...

...and my ikea fire drake.
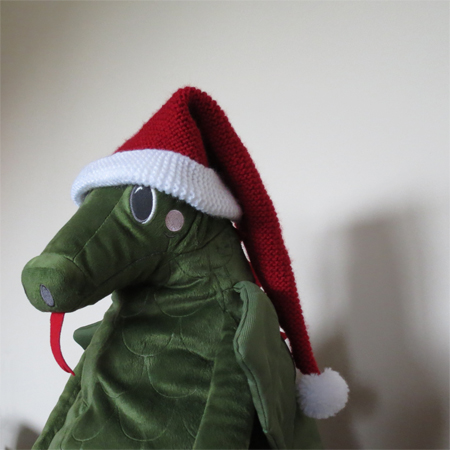
They all involved casting on a different number of stitches and working a different length of trim, but they fit and it works!
<<< See more Christmas Patterns
<<< See more Cosies
© 2015 All desgins and images are copyright of ODDknit. If you enjoy the content of this website, please consider buying me a coffee at the link below.